Catch you on Discord — and thanks for understanding!
Going to try and document my process and progress for my wind simulator Project.
I only recently got into the Sim racing scene, but I am very enthusiastic about the prospect of making the absolute best bang for the buck racing sim rig possible. I want to share my thoughts on why I made the choices I did, and perhaps I can help or inspire others. Please feel free to chime in and offer opinions on how it could be better or any ideas you might have!
First and foremost I did a ton of research on the sim market and all the various products... As a maker I thought there has to be a way to build these things to save money. Lucky for me I found simhub!
While looking at projects I decided wind simulation would be the most affordable and obtainable with the largest return on investment for immersion.
During some digging for 3D printed ideas I found a project by i-phoner on reddit:

I reached out and asked if he would share his models, unfortunately he was approached and worked on the SRS hurricane system, so it doesn't appear he is legally or contractually allowed to share them. Likely a non-compete...
eventually I found several good models on thingiverse, but none of them fit a 140mm fan, which I was dead-set on having the extra airflow and was hoping the fans would be more bearable for my family in the next room. I originally planned to start with the 97CFM ML140 fans from corsair, the magnetic levitation bearing means they'll basically last forever and I have 12 of them in my multiple water cooling loops and case, so I know they're great fans.
I build and programed a very basic single Arduino PWM fan and ran a "test trial" with a spare ML120 I pulled from my case to make room for a new reservoir.
This is the diagram I followed, with the PWM on pin 9 instead of 3
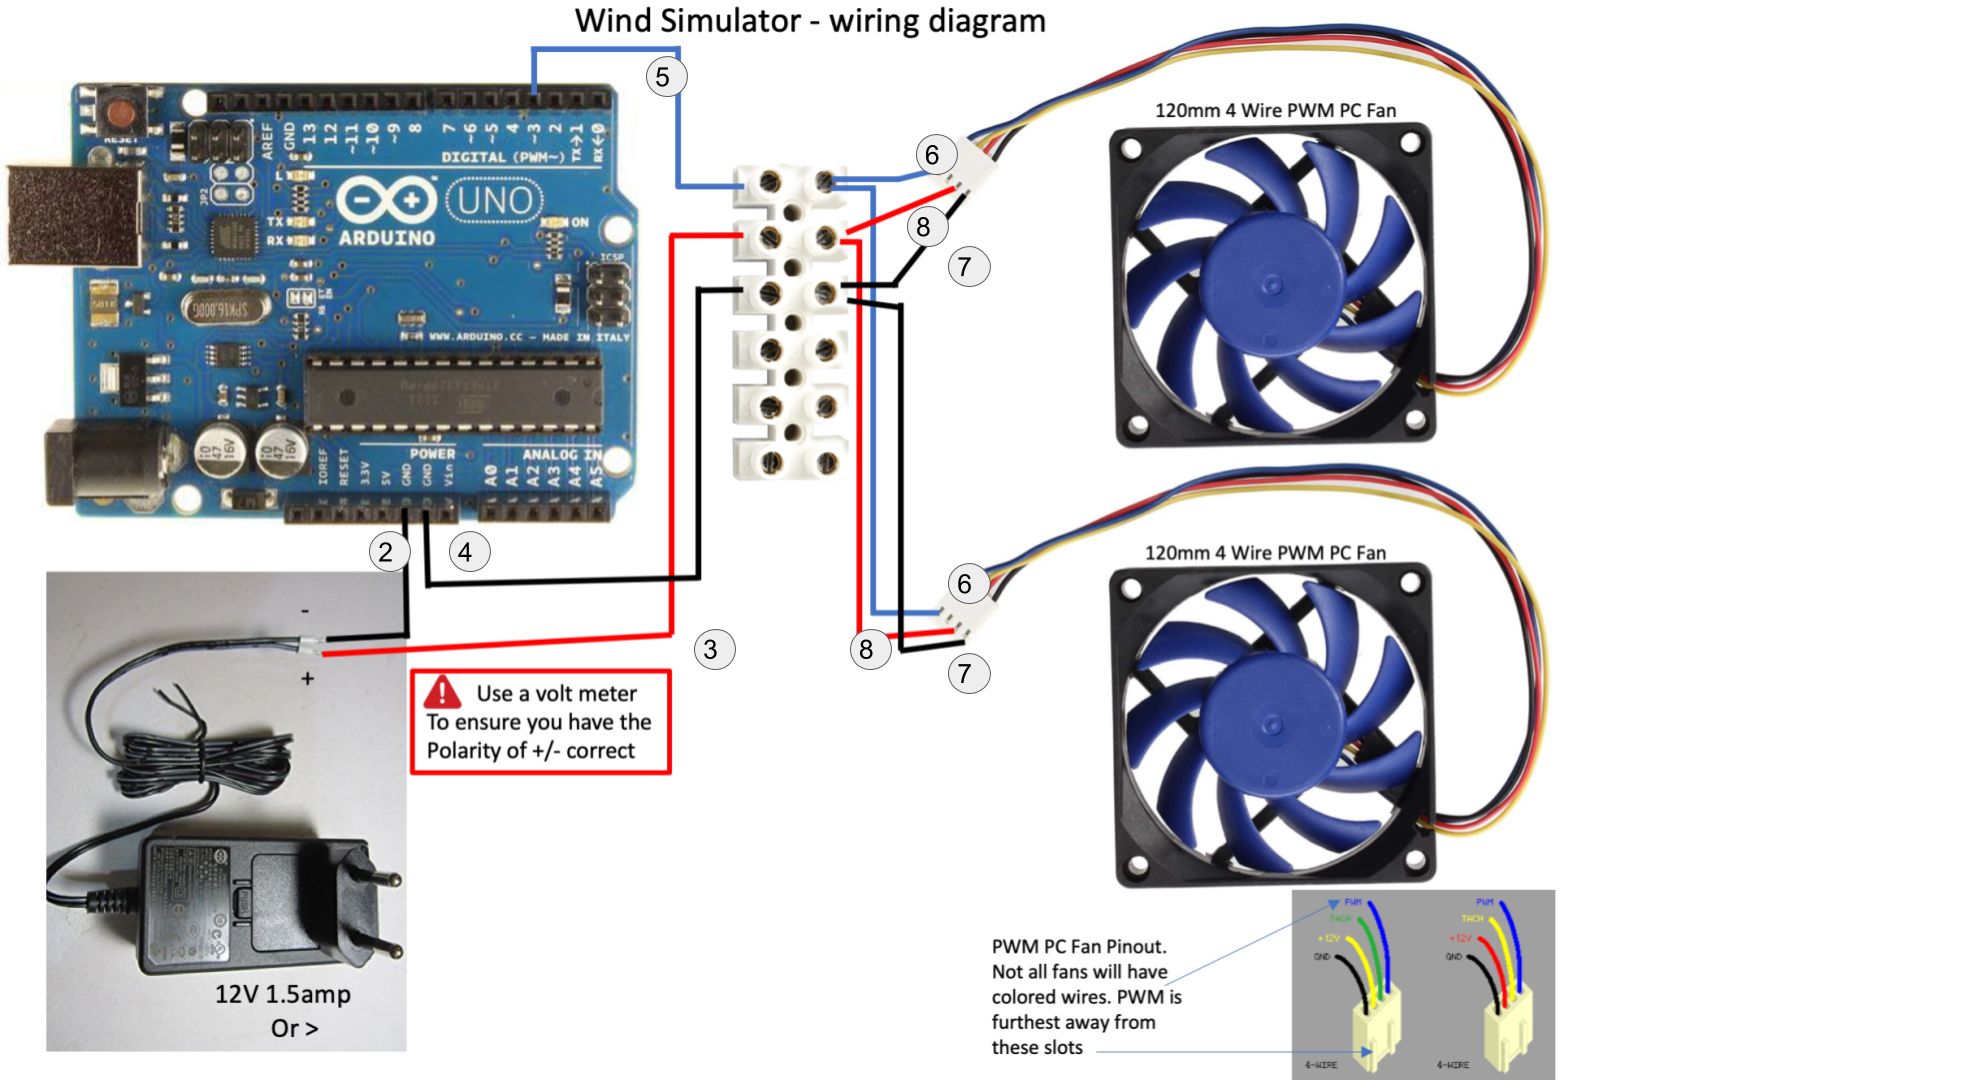
The effect of having speed based wind is amazing and is EXACTLY what I wanted, but the 75CFM with no nozzle was pretty underwhelming in terms of actual airflow. So begins the actual project, thanks for reading along so far!
=======================================================================================
Decided i am grabbing two Noctua nf-a14 ippc-3000 fans
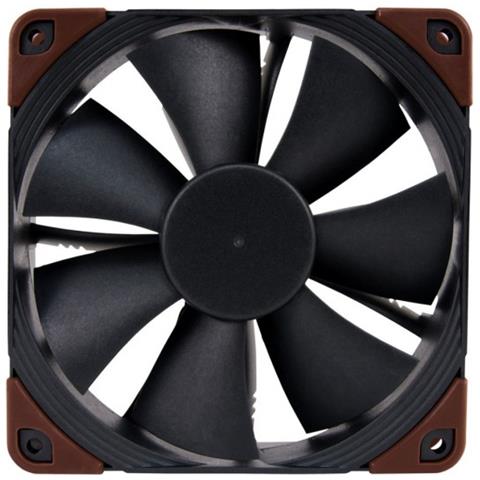

at 158.5CFM per fan for a total of 317CFM this should be a considerable bump in flow, and at 41db, not unbearable audibly.
Since no one seems to make 140mm nozzles, and all the air straighteners for 140mm are hideous honeycomb tubes, I decided to model my own


I've modelled an intake to reduce noise and increase airflow, a minimally invasive grill insert to prevent wandering fingers from being wacked and to keep my $30 fans safe, a housing to route cables and mount to the rig, and a 140mm to 2.5" air straightener and pressure nozzle combo to increase windspeed.
I split the grill from the intake to make 3d printing easier and modular in case it introduces noise
The housing and mount are split to make the positioning adjustable with superglue, it can be left off as well for alternative mounting options
and lastly the nozzle is split in 2 parts to make printing easier and faster (if you have a print farm)
I have already printed all but the housing for a single side, I had several failures but I identified them early on and fixed the issues. the final print times are listed on the gcode files i will upload later once everything is 100% tested.


THIS WAS NOT MY MODEL, needed a case for the arduino


No post processing has been done and all prints were on 0.2 layer height
Purchased these mounts for the rig

the thread size matches the hole in the mount part of my models, but might be too deep to seat against the nut and may require some shims or the bolt to be cut and filed
Going to try and make the Relay for turning off the fans at zero function
bought this relay package:

a terminal block to cut down and make wiring easier:

There is little to no documentation [AT ALL] on using the relays, so I made a wiring diagram in photoshop, not sure it will work, but if not i can just adjust things to bypass the relay, here is the diagram i made...

While the terminals are VERY Nice and work great on larger wires, the fine wires used required being soldered for a reliable connection.
The relays work, but turned out Noctua fans come to a full stop and if wired to the ground on the Arduino will as long as simhub is not running or is closed, do not spin.
Images of the parts and assembly:


Final Thoughts:
The amount of wind is perfect and worked exactly as I wanted.
The housing I designed & printed is very long and positioned at the front of my wheel tray are too close to my fingers, so it needed moved to the back to make sure they don't interfere with my driving.
Going to dismount the windsim for painting and repositioning, Will post images of the final setup at that point.

This is amazing. Specifically the 3d printed air straighteners for the 140mm fans which are very hard to find.
Any chance you would be willing to share the files for your beautiful air straighteners? I am borderline going to buy the SRS Hurricane system because it has wind curving, but I don't know whether that feature alone is worth $$$. If think I'd rather just duplicate your setup if that was possible.
I don't have a 3D printer but I know there are services where you can get something printed off for a fee, so if I had the files I could totally do this for probably 1/3 the cost of the SRS Hurricane system.
Looking nice and solid.... Would like to make one my own.
Can you share your STL files??
Great project!
I just purchased the same fans, would you mind sharing your STL-files for the 140mm fan-case/shroud?
@avatario, are you still around? Could you share these files? I'd happily pay for them, too, if you'd like. But this looks like, by a country mile, the best solution I've seen online. I, too, am having trouble finding air straighteners for 140mm fans.